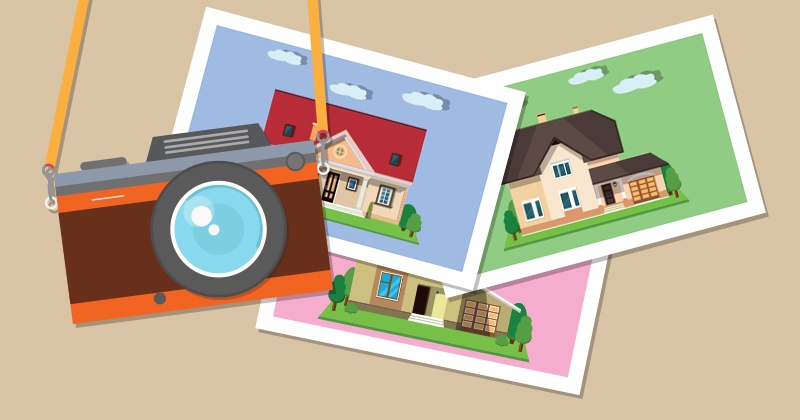
While there are many ways home buyers search for properties, most shoppers these days do the bulk of their searching online.
In fact, according to a 2017 study by the National Association of Realtors®, 44% of prospective buyers use online searches as their first step in looking for a home. And, if you look only at the Millennial generation, that number jumps to 99%!
In other words, if you aren’t giving your online presence the utmost attention right now, you’d better get on it soon. Eventually, home buying will happen almost exclusively online!
What do you think online home buyers are looking for first when they visit a listing? If you guessed the homeowner history, I’m afraid you are dead wrong.
The study found that 89% of home buyers looked to the photos as their most useful source of information on a particular property.
How is your photo game on your listings? If you answer isn't “100% on the mark in all ways,” then you are in serious trouble.
If your listing photos need some work, luckily the problem is relatively easy to rectify. Let’s take a look at what you need to get great photos of your properties and entice buyers to visit!
Stage Your Shots
By far, this is the most important (and most overlooked) step in the real estate photography process.
Even if you hire a top-notch photographer with hundreds-of-thousands of dollars worth of high-tech gear, they aren't going to stage the home.
Their job is to get the best possible shot of the area, not decorate (or undecorate!) that area. Unless you hire a professional stager, this job falls on you.
Remarkably, many real estate listings have photos featuring day-to-day items in the home that remind buyers someone already lives there.
We’re talking about things like shampoo bottles, TV remotes, magazines, refrigerator magnets, etc.
Take these things out of the shot! Part of the power of real estate photography is helping the buyer imagine themselves living in the home, and day-to-day items like these make it difficult for them to let their imaginations run wild.
On the other hand, there’s nothing wrong with adding things into the shot, either. If you think a room is looking kind of bland, throw in a vase full of colorful flowers. If the kitchen looks clean but a bit empty, put a basket full of fruit on the countertop. You want the photos to present a beautiful, but neutral, idea of the home, so the buyers can think, “Wow, I can see my family living here.”
Lighting Is Everything
Have you ever tried to use your phone’s camera in a dark room? The pictures don’t come out so great, do they? That’s because for a shot to really showcase every little detail of the area, lots of light is needed.
In homes with large windows that get tons of natural light, getting great photos is relatively easy. But in darker homes, showcasing inviting, beautiful interiors can be tricky.
A pro photographer will have their own lighting gear, which will make the job much easier, but if you don’t have a pro on deck, you will need a tripod and a camera that has settings for ISO, aperture, and shutter speed.
You can read more about these settings on a photography blog, but the basic gist is that your camera lens stays open for a longer period, sucking in as much light as it can. That’s why the tripod is essential: for the pictures to not become blurry or overexposed, the camera has to be perfectly still.
The difference between a poorly-lit shot and a well-lit shot could be the difference between a buyer contacting you about a showing…or moving on to the next listing. Don’t let this detail go unnoticed!
Focus on the Best Aspects of the Home
In every room of a house, there is usually one thing that jumps out as the star of the show.
Maybe it’s the high ceilings in the living room that make it so spacious, or the custom cabinetry lining the kitchen wall, or the clawfoot tub in the master bath. Whatever the standout feature of a particular room might be, your photo needs to bring that feature front-and-center.
Once again, a pro photographer will know the best way to approach this, but if you choose to go DIY, you can still succeed in showcasing this detail.
All you have to do is take lots and lots of photos from different angles, trying your best to bring out the feature you’re looking to emphasize. Use the rule of thirds and move around the room a bit, bringing the camera low to the ground or high above your head if necessary.
It’s not like the old days where you only had so much film you could use on a shoot; your camera is virtually limitless when it comes to data storage, so just keep shooting until you get a successful image.
Don’t Forget About Post-Production
Once you’ve taken all the pictures you need to sell the property, don’t just throw them online right then and there.
The next step is to do a bit of post-production on your work to add an extra sheen that separates the pro-quality camerawork from the just-OK camerawork.
There are numerous software programs available, most of them free, that can crop, filter, edit, and otherwise manipulate photos in myriad ways.
Using one of these tools, you not only will make your photos look better, but you can even fix up errors you may have made during the shoot. Maybe you got an awesome shot but realized too late that there was a broken electrical socket in the corner. Crop it out!
You can also use programs to watermark your photos. Don’t get too crazy with this, as an obtrusive watermark will distract the viewer, but a subtle watermark on your photos could add a professional touch to your work.
This may all seem a bit overwhelming, especially if you don’t think of yourself as a particularly good photographer. If that’s the case, then you should hire a professional to get the job done.
Listing photos are incredibly important, and if there's any doubt, you should leave them to a professional.
A terrific resource for finding pro photographers in your area is a site called Gigmasters. Simply enter in your city and you’ll be greeted with a list of pros. Try to narrow your search down to photographers who specialize in real estate photography, but most competent photographer will produce good work.
Don’t forget about your fellow real estate agents! Take a look at some listings in your area and keep an eye on the photos that really jump at you: contact the Realtor in charge of the listing and ask who they used for the shoot.
This is a terrific networking opportunity, and referrals could net you some discounts. Win-win!
If you’re worried about the time it might take to find and hire a good photographer in your area, or the time it might take to do all that photo editing, don’t sweat it! Inside our book How To Build A Real Estate Business That Runs Without You are tons of great tips and tricks to take this task off your plate. Work smarter, not harder!
![]() Joe Nickelson is a real estate professional dedicated to helping home buyers and sellers achieve their dreams of owning property, and helping real estate agents stop using the sometimes-vicious tactics that weigh on their consciences. He believes that the Smart Agents books will, quite literally, change people’s lives for the better. Check out his full bio here!
Joe Nickelson is a real estate professional dedicated to helping home buyers and sellers achieve their dreams of owning property, and helping real estate agents stop using the sometimes-vicious tactics that weigh on their consciences. He believes that the Smart Agents books will, quite literally, change people’s lives for the better. Check out his full bio here!


